
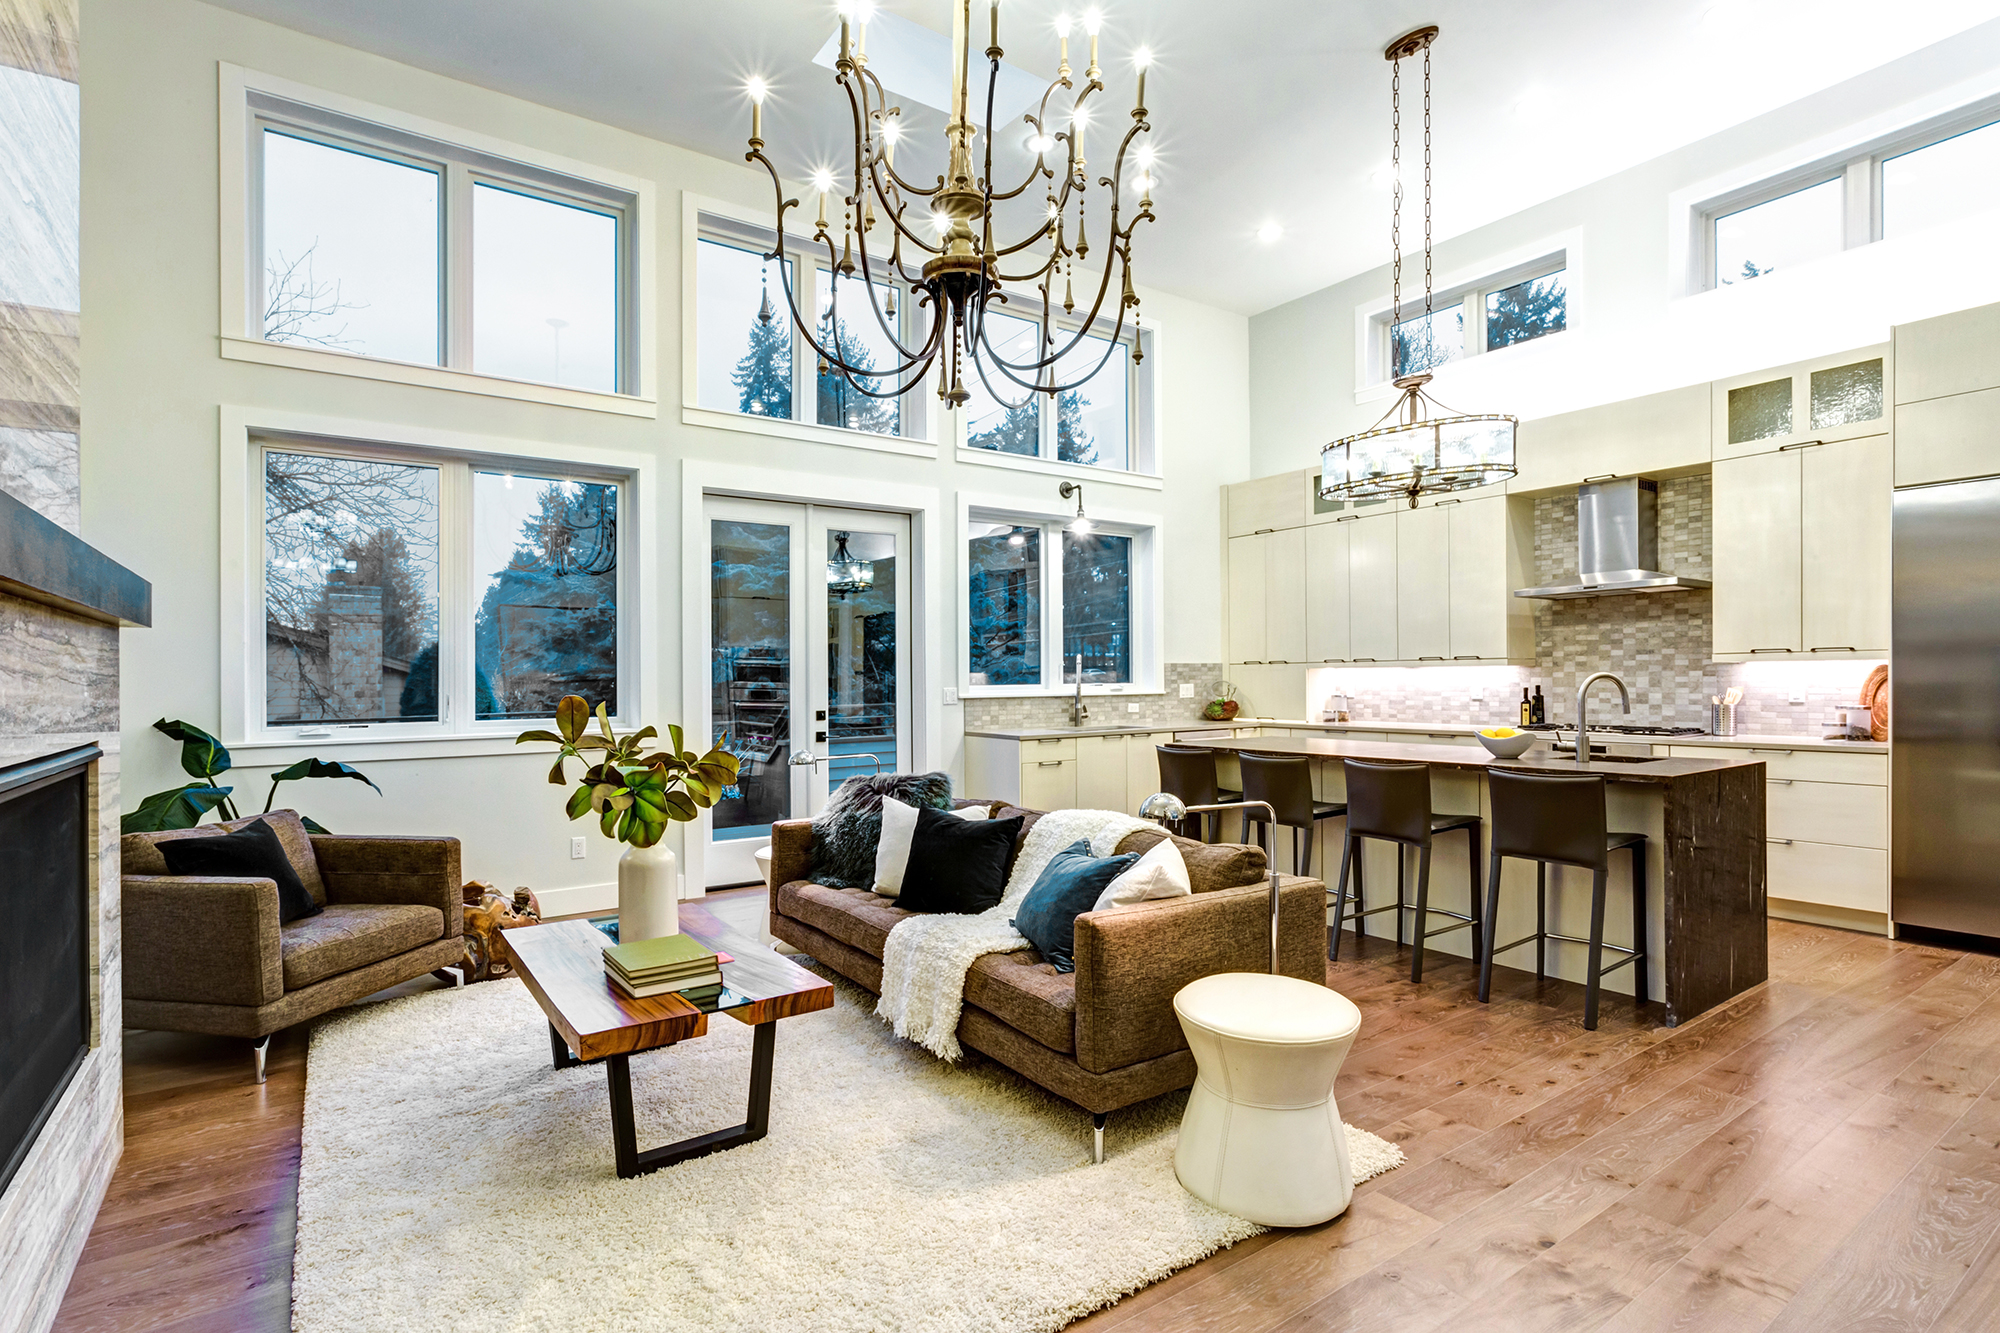
A classic Camden cottage has a certain kind of quiet confidence: warm wood tones, smaller rooms, lower ceilings, and details that feel earned, not installed last weekend. The tricky part is upgrading lighting for modern comfort without turning that charm into something that looks “renodeled.” At The Kitchen People in Holden, ME, the best results come from treating lighting like restoration work: subtle, technical, and intentional.
Step 1: Start with color quality, not fixture style
Historic interiors often rely on warm finishes. If you put low-quality LEDs into that environment, everything can look gray, flat, or slightly “green.” Two specs matter more than the marketing label on the box:
CCT (Correlated Color Temperature): For cottages, 2700K is the safest baseline. If your cottage leans airy and painted, 3000K can work, but it should still feel warm at night.
Color rendering beyond CRI: CRI is helpful, but for kitchens and living areas, look for strong R9 (red rendering) and, when available, TM-30 metrics (Rf/Rg) that indicate balanced color fidelity and saturation. This is what keeps wood, brick, and skin tones looking natural.
If you want the cottage to feel cozy at night but functional during the day, a great upgrade is warm-dim (also called “dim-to-warm”). It lets lighting shift warmer as it dims, closer to how incandescent behaved. This is one of the biggest “it feels expensive” moves that still looks period-correct.
Step 2: Fix the “shadowy corners” problem with layered light
Older homes often have one central ceiling fixture per room, which creates a bright spot and gloomy corners. You don’t need to over-light, you need to re-balance where the light lands:
Ambient layer (soft fill):
A low-profile ceiling light, shallow semi-flush, or discreet recessed (if the ceiling allows) can create overall brightness. The goal is not spotlighting, it’s evenness.Task layer (where hands work):
In kitchens, place light where you chop, prep, and read recipes. Under-cabinet lighting should be continuous and diffused so you don’t see “dots.” Use aluminum channels with a proper lens to reduce glare off counters.Accent layer (character):
Wall sconces, picture lights, and toe-kick lighting add depth and calm. They also help smaller rooms feel intentional instead of “bright but bland.”
Step 3: Choose optics that look gentle, not modern and harsh
A lot of “renovation-looking” lighting is actually an optics problem, not a style problem.
Beam angle matters: Narrow beams create hot spots and harsh shadows. For general downlighting, you usually want wider distribution.
Shielding and cutoff: Look for fixtures with proper shielding so the light source isn’t glaring when you sit down. Clear glass fixtures can be beautiful, but they often cause uncomfortable sparkle and harsh brightness in smaller rooms.
Wall washing for height: If a room feels low, add light that grazes walls evenly. Bright walls create perceived volume, which reads as “airier” without changing anything architectural.
Step 4: Make dimming work the first time
Dimming is where many older-home upgrades go sideways: buzzing, flicker, or a dimmer that only works between 100% and 60%. Get specific:
Match dimmer type to driver type: Many modern LEDs prefer ELV dimming rather than older TRIAC dimmers.
Look for low-end trim: This helps prevent flicker and sudden shutoff at low levels.
Prioritize flicker performance: If someone in the home gets headaches or eye fatigue, driver quality matters. “Flicker-free” claims vary, but reputable fixtures will publish more detail or have better real-world performance.
Step 5: Keep the “historic” feel through scale and placement
In a Camden cottage, oversized modern pendants can feel like a costume. Scale your fixtures to the room:
Pendant height: Too low looks trendy and interrupts sight lines. Too high looks accidental.
Sconce height: Align sconces with human scale and sight lines so they feel like they belong to the architecture.
Fewer, better fixtures: A small home benefits more from thoughtful layering than from cramming in more lights.
Step 6: Don’t ignore flooring and reflection
Light interacts with surfaces. If you’re also upgrading flooring, remember: glossy floors bounce harsh highlights, while matte floors absorb light and can feel calmer. Balance is key: choose finishes that support the mood you want, then tune the lighting intensity and optics accordingly.
The best Camden cottage lighting upgrades don’t announce themselves. They simply make evenings calmer, cooking easier, and rooms more flattering to live in.
If you’re planning a lighting refresh that stays true to cottage character, visit The Kitchen People in Holden, ME to compare warm, high-quality options and build a layered plan that suits your home. We serve Bangor, ME, Ellsworth, ME, Lincoln, ME, Newport, ME, and Camden, ME. Contact us or stop in to get a lighting spec and layout that feels authentically “cottage,” not “construction.”